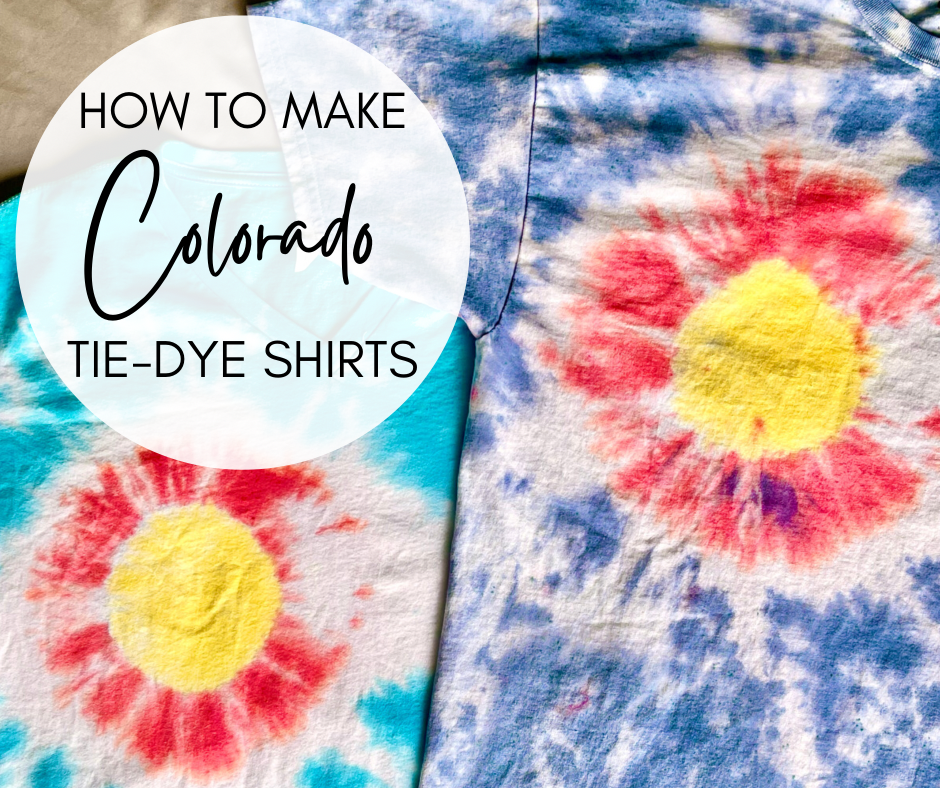
I love that tie dye is making a comeback. It was one of my favorite activities when I was a kid because even the sloppiest of color combinations came out as a cool t-shirt.
Our tradition, at the beginning of every summer, is to create new tie-dye shirts. As my kids get older, their technique improves and every year, they get a little more eager to begin designing their next best shirt.
Colorado has always been my home. I was born and raised in Durango, a small town in the southwest corner of the state. It wasn’t until after I graduated high school that I ended up in the Denver area. After growing up here and also deciding to start a family here, I have become quite proud to call Colorado my home. So in my own quest to design the next best shirt, I challenged myself to replicate the Colorado flag using tie-dye.
Supplies Needed:
- Tie-Dye Kit (this kit comes with a table cloth, plastic gloves, rubber bands, and multiple colors of dye)
- White Cotton T-shirt (I use gildan heavy cotton)
- Bucket of Warm Water
- 1/2 cup of Baking Soda
- Ziploc Bag
Step #1: Prep Shirt
First, mix together warm water and baking soda until dissolved. Then, place shirt in the bucket and let sit for about an hour.
Pre soaking your shirt helps the dye bond with the cloth. This creates very vibrant colors when finished.
Step #2: Draw Outline

Next, use a washable marker and outline the Colorado flag. This makes it easier to see where you should place the rubber bands and where not to apply dye.
Step #3: Tie Off Sections

Using the rubber bands provided in the tie-dye kit, tie off the middle circle. Then, tie off the section that will become the “C.” Make sure you pull the part of the “C” out that won’t be dyed red like I did in the picture. In the next step, I’ll refer to this part of the shirt as “the tail.”
Step #4: Start Dying
Always be sure to double check there is no other part of the shirt underneath. Most tie-dye looks great with blended colors. However, you don’t want your colors to blend too much with this project.
First, while being careful not to squirt dye everywhere (the bottles tend to get a little crazy when they are full), dye the first section of the tail yellow.

Next, while holding the section of the “C” you don’t want red, apply red to the rest of the second section. Again, pay close attention to make sure the yellow and red sections aren’t bleeding together too much or touching.
Finally, take the blue and roughly squirt it around the top and bottom of the shirt. Don’t forget to leave the middle stripe white!

After you’re done dying the shirt, place it in a ziploc bag for at least 24 hours. This will keep the item wet, allowing the baking soda and tie dye to bind to the shirt.
Note: While putting the shirt in the bag, leave the tail standing upright at the top so it doesn’t fall over and bleed into the blue part of the shirt.
Step #5: Rinse and Wash
The final step is to cut the rubber bands off and rinse the shirt with cold water until the water begins running clear. Wash it by itself in the washing machine and dry as normal.
Enjoy Your Colo(RAD)o Shirt
How did your shirt turn out? I would love to see in the comments!
Be sure to subscribe to my emails to keep up to date with all of my latest DIY projects!


