


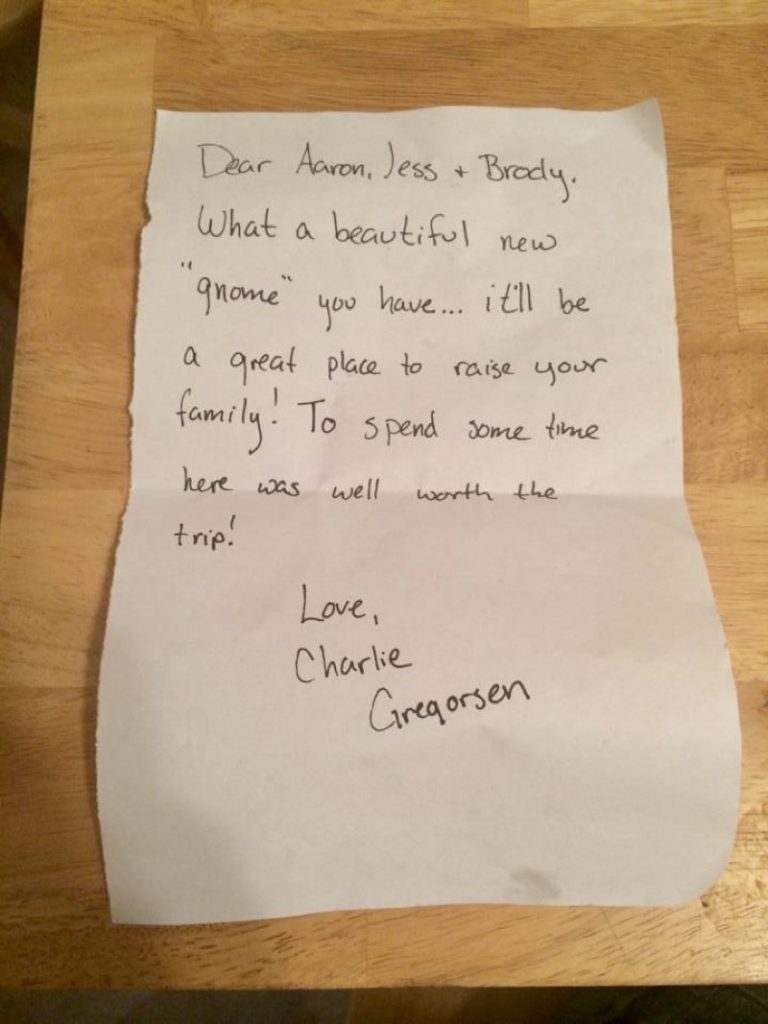
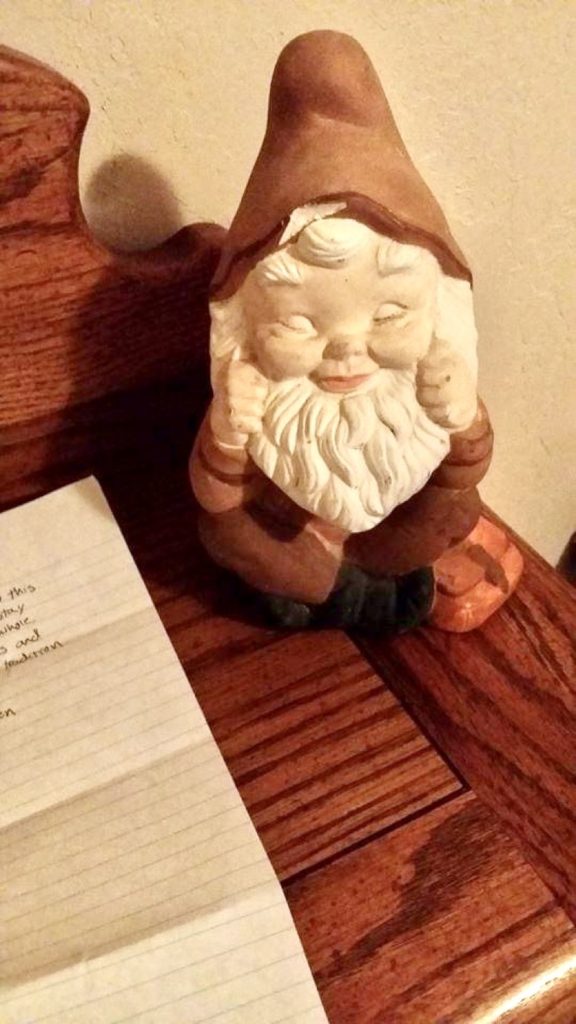
Our family has this odd tradition of passing around a gnome after we move into a new house. The idea is that our gnome, Charlie Gregorsen, will bring good luck to our new address. Weird, I know! But, Charlie, has traveled over a thousand miles between all of his stays.

I already have a soft spot for all things gnomes and have loved how they quickly became so trendy. When I found these witch hat wreath forms at the Dollar Tree, I knew exactly what I was going to make with them.
This fall gnome wreath was so much fun to make and turned out way cuter than I had pictured in my head. What I didn’t know was how much other people would love it, too! I am so excited to be able to share the tutorial with you and see the different variations of fall gnomes that other people create!
So, let’s get started!
1. Gather Supplies
I love craft projects that require only a few supplies. I’ll keep this short and sweet.
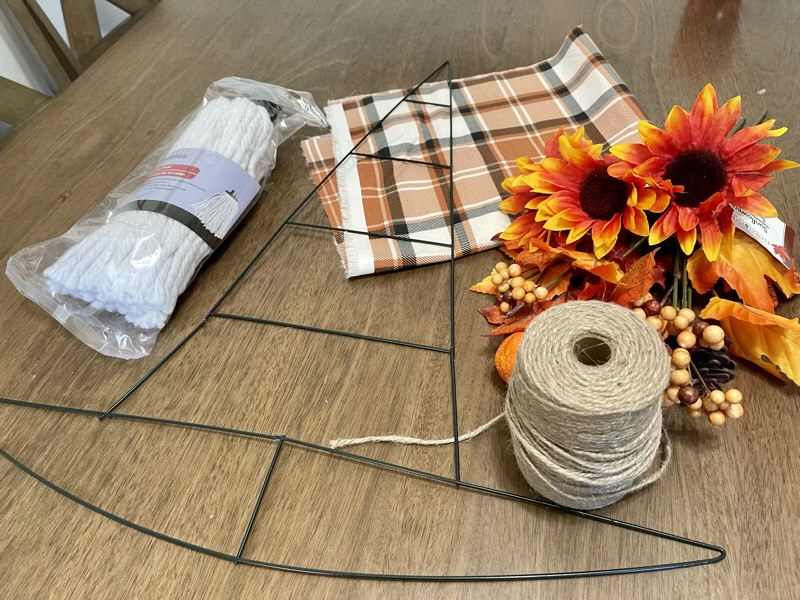
- Witch hat wreath form (Dollar Tree)
- Beard Material-I used a cotton mop from the Dollar Tree but you could also use yarn, rope, faux fur, or even a bunch of maple leaves!
- 1/2 yard of your favorite seasonal cotton fabric
- A mix of fall floral stems-I got an assortment of berries, sunflowers, and maple leaves
- Pumpkin pick
- Twine
- Hot glue gun and glue sticks
- Wire cutters
- Scissors
2. Attach The Beard
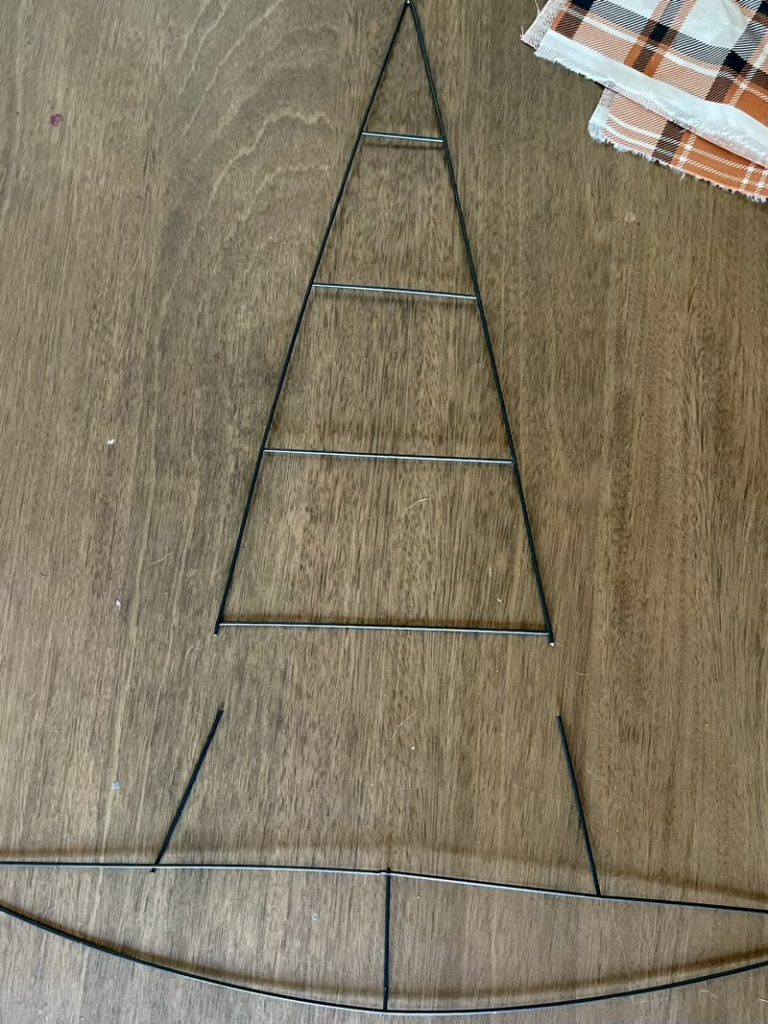
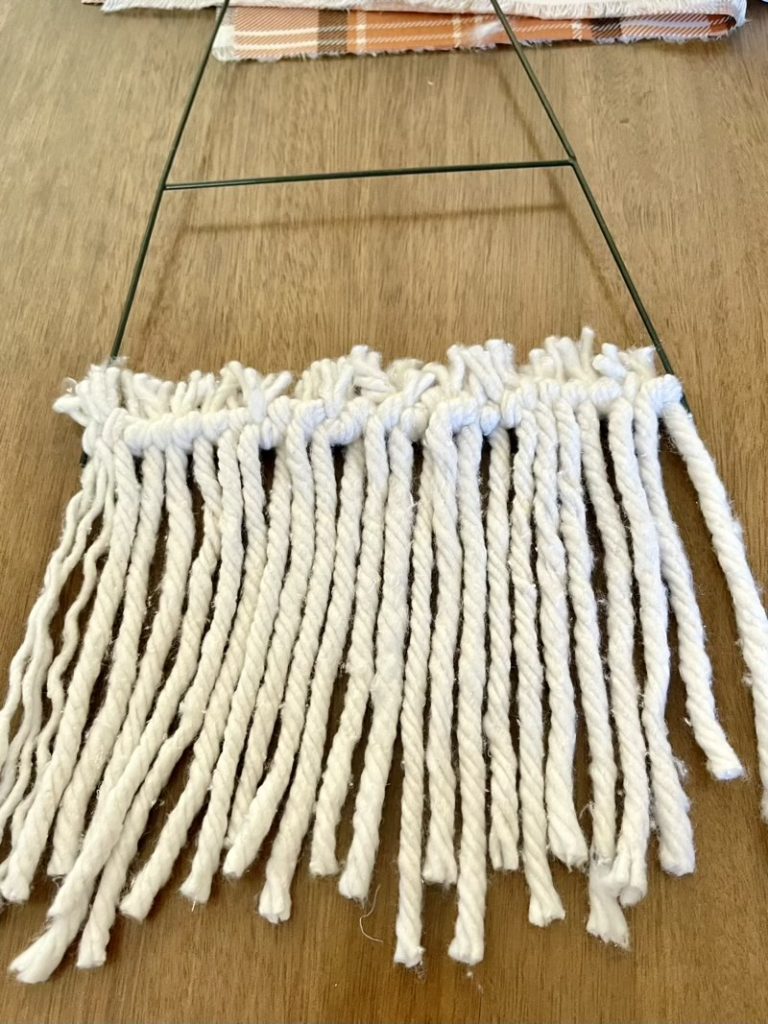
The first thing I did was use wire cutters to cut the bottom portion of the witches hat off. I’m sure it would be cute if you left it, but I just wanted the pointy top part.
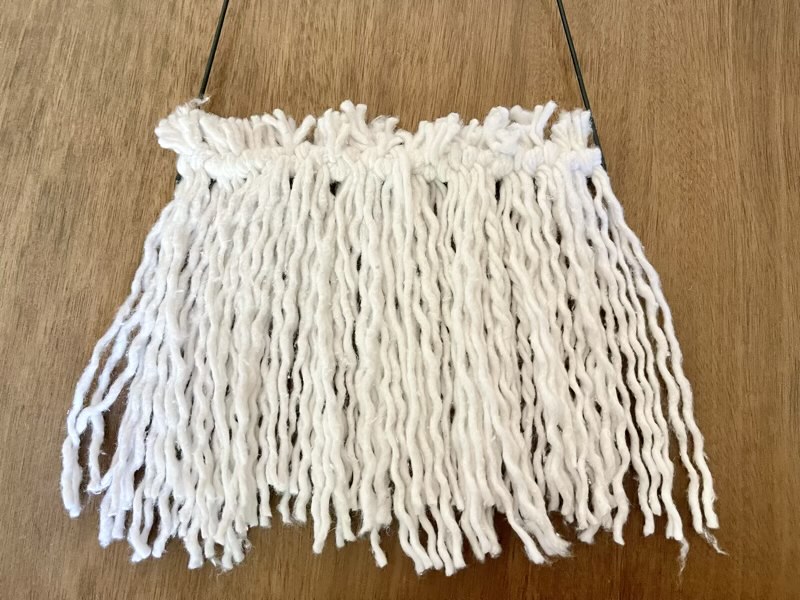
Next, using scissors, cut individual strands off of the mop and tie them to the bottom wire of the wreath form. Make sure the knot is tight. Continue tying mop strands until you feel you have a full beard. Then, take each strand and unravel them. This makes the beard fluffier and more realistic looking, I think.
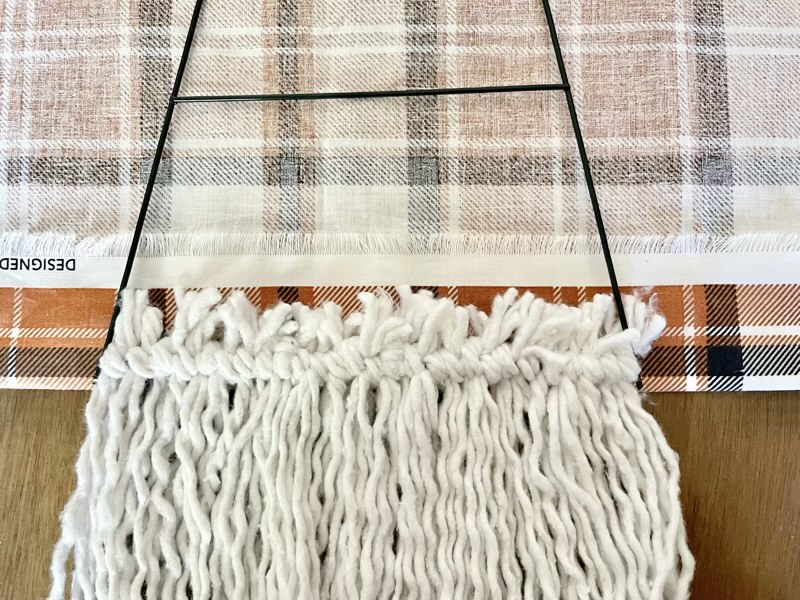
3. Craft the Hat
Secure the fabric to the beard using hot glue. Make sure the sharp ends that were cut by the wire cutters are tucked away under the fabric to prevent injury. Securing the fabric with hot glue on the front will ensure the fabric doesn’t slip as you pull it tightly around to the back of the wreath form.
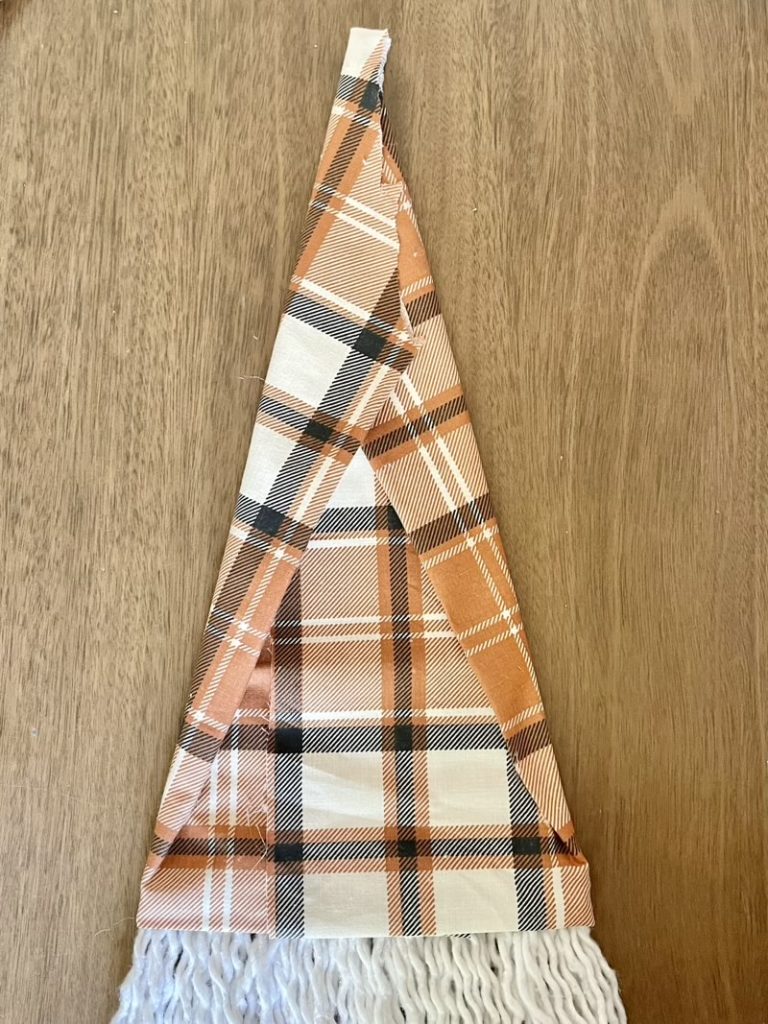
As you tightly pull the fabric to the back of the wreath, use hot glue to hold the fabric in its place. I tried my best to secure the fabric on the the back neatly. Even though the tip of the hat is a little ugly, no one will notice once I cover it with twine.
4. Add Finishing Touches
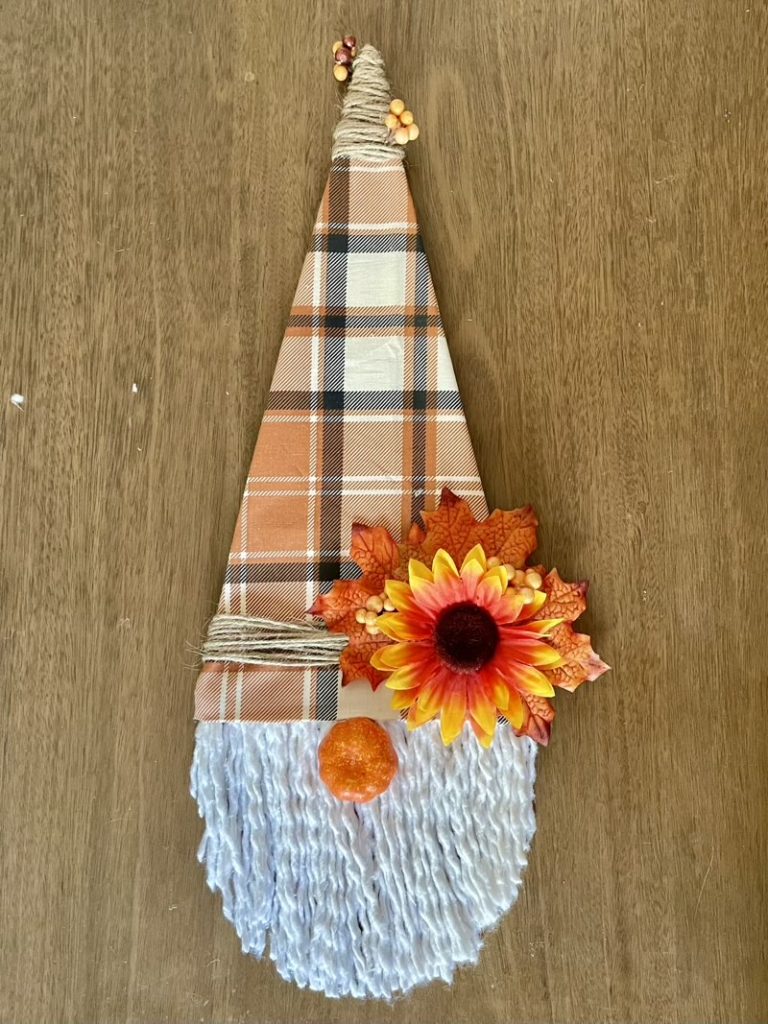
This final step is my favorite part! Using your creativity, add whatever decor pieces you like to customize your gnome wreath. I used a little bit of twine around the bottom and at the tip of the hat before adding my maple leaves, sunflower, and a few berries.
Then, using a small pumpkin I found on a fall floral pick, I hot glued it to the beard upside down to resemble the nose. But, you could also paint a ping pong ball or use an old pair of nylons and a styrofoam ball for the nose.
I also opted to give my gnome a beard trim. But, it is completely up to you!
Finally, make a small slit in the fabric on the back, right below the middle wire, so the fall gnome wreath can be hung on a hook.
There’s Gnome Place Like Home
What a simple and cute fall DIY, am I right? There’s something about fall decor that makes your house feel a little extra cozy. If you’re looking for another fall DIY project, I have a cute scarecrow tutorial you have to check out!
If you make a fall gnome wreath of your own, be sure to tag me in a picture on Instagram or Facebook. I’d love to see it!